Get started
Get Started in 4 Steps
1. Download and Install JATOS
Start by downloading JATOS and installing a local instance on your computer.
2. Access the JATOS GUI
Once installed, open JATOS' graphical user interface (GUI) by navigating to http://localhost:9000/ in your web browser.
3. Download and Import an Example Study
To quickly see JATOS in action:
- Download one of the Example Studies, for instance, the 'Go- / No-Go Task' with jsPsych. Do not unzip the downloaded file.
- Import the study into JATOS: In the JATOS GUI, open the study sidebar by clicking on Studies in the header and then on + and finally Import Study. Select the .jzip you just downloaded. The imported study should now appear in the sidebar on the left.
4. Explore the GUI
Now that you have a study imported, it's time to explore:
- In the sidebar, click on the study's name to open its dedicated page.
- To perform a test run of the entire study, click on Run in the toolbar at the top of the page.
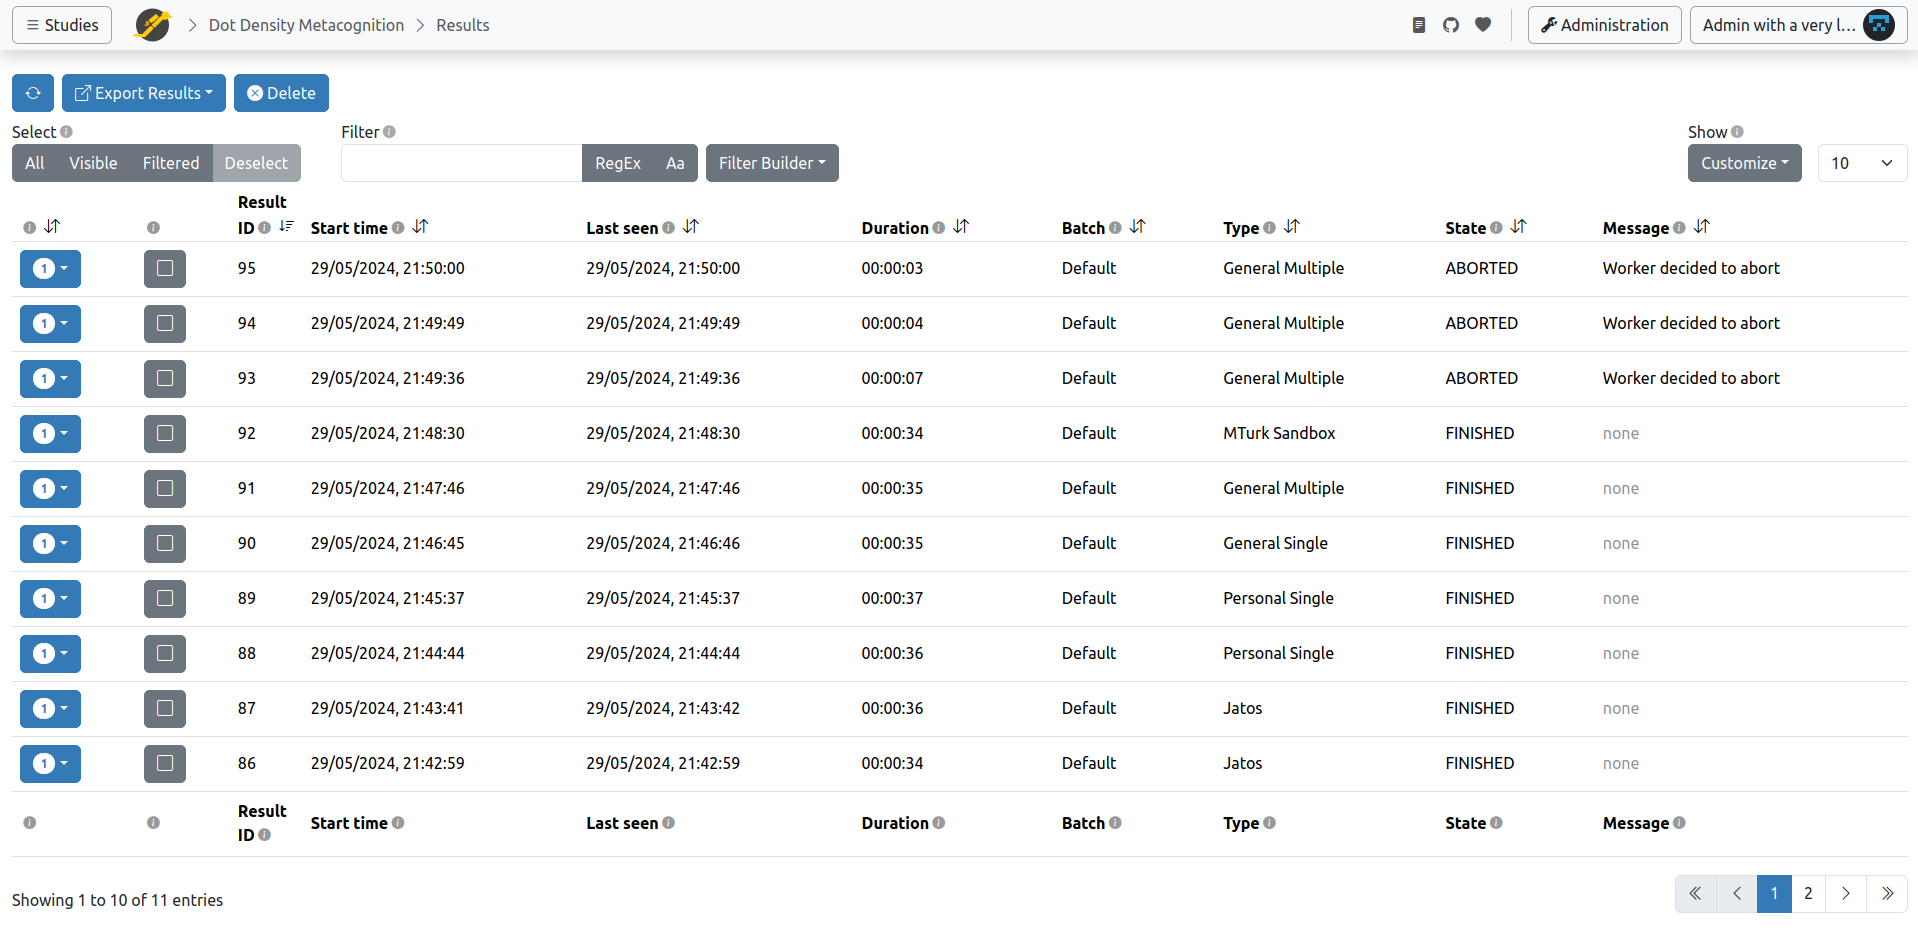
- After running the study, you can review the results:
- For whole-study results, click the Results button at the top of the page.
- For results from individual components, click the Results buttons located in each component's row.
- You can view detailed information for each result by clicking the ▼ to the left of its row (find more information on managing results here).
Here's a screenshot of a study's results view:
Beyond the Basics
Once you’re comfortable with the basics, explore what else you can change about your study from the JATOS GUI:
- Rearrange Components: Easily reorder components within your study by clicking and dragging any component's position button in the GUI to a new location.
- Component and Study Properties:
- Each component has a Properties button. The component’s code can access data from the Component input field, allowing you to modify instructions, stimuli, timing, or trial numbers without editing JavaScript code.
- Similarly, the Study Properties include a Study input field, which can be accessed by all components within that study.
- Locate Study Assets: Your study’s HTML, JavaScript, CSS files, and other resources (images, audio, etc.) are called "study assets." The path to your study assets directory is shown on the JATOS home page (for local installations). By default, it’s located at
/study_assets_root/name_of_my_study/inside your JATOS installation directory.
Continue exploring the documentation to learn more about managing studies, results, and advanced features in JATOS.