Manage results
Results Pages
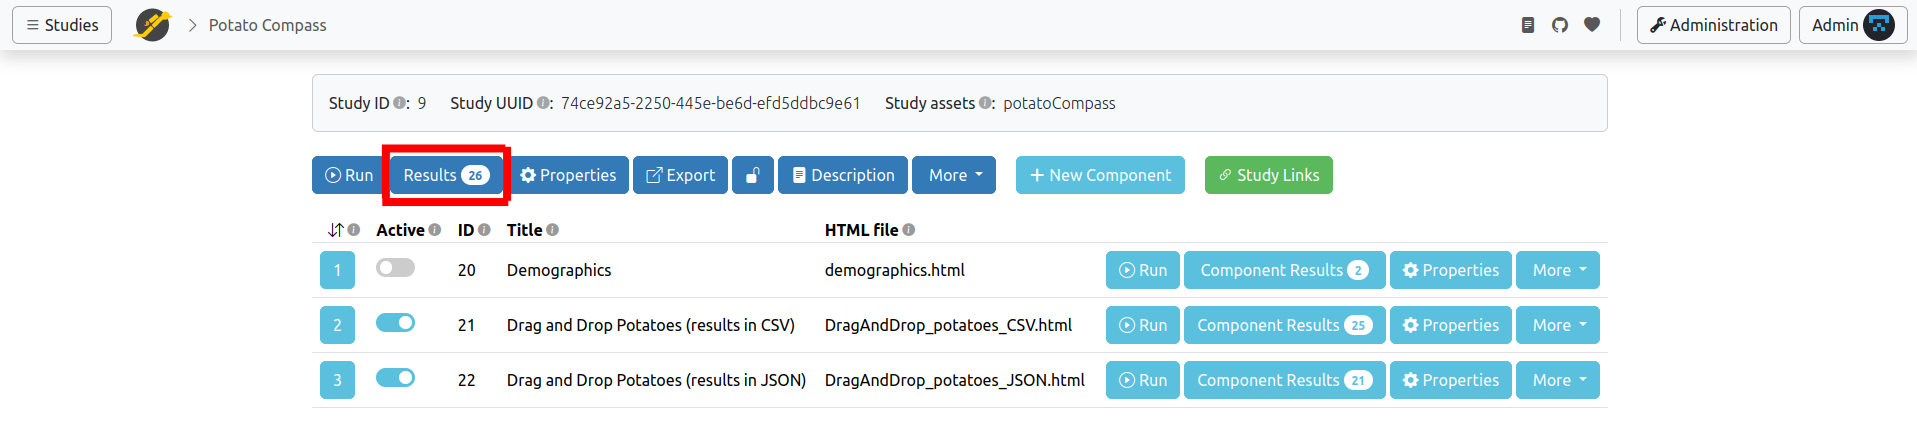
Once you've collected data for a study, you can view and manage the results by clicking on one of the Results buttons.
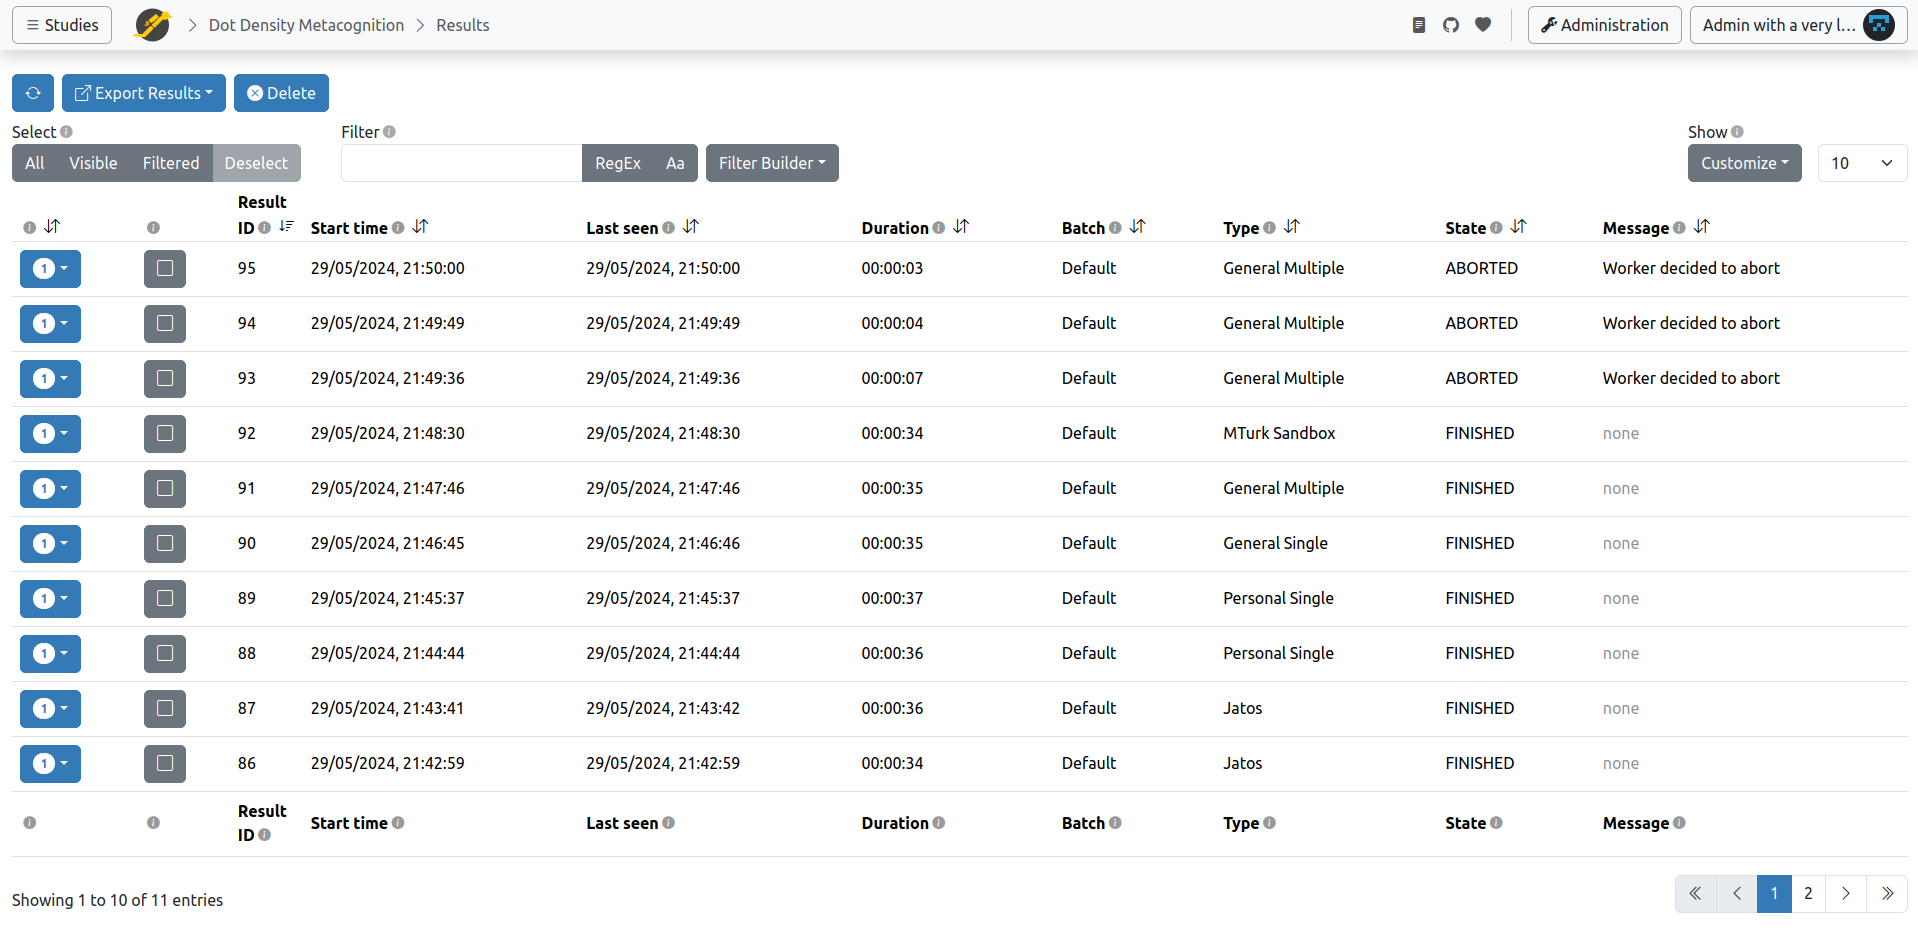
The image below shows an example of a study results page. Keep in mind there are also dedicated results pages for components, batches, and groups. There's a lot of information here, so let's walk through each section.
Interacting with the Results Table
View Result Data
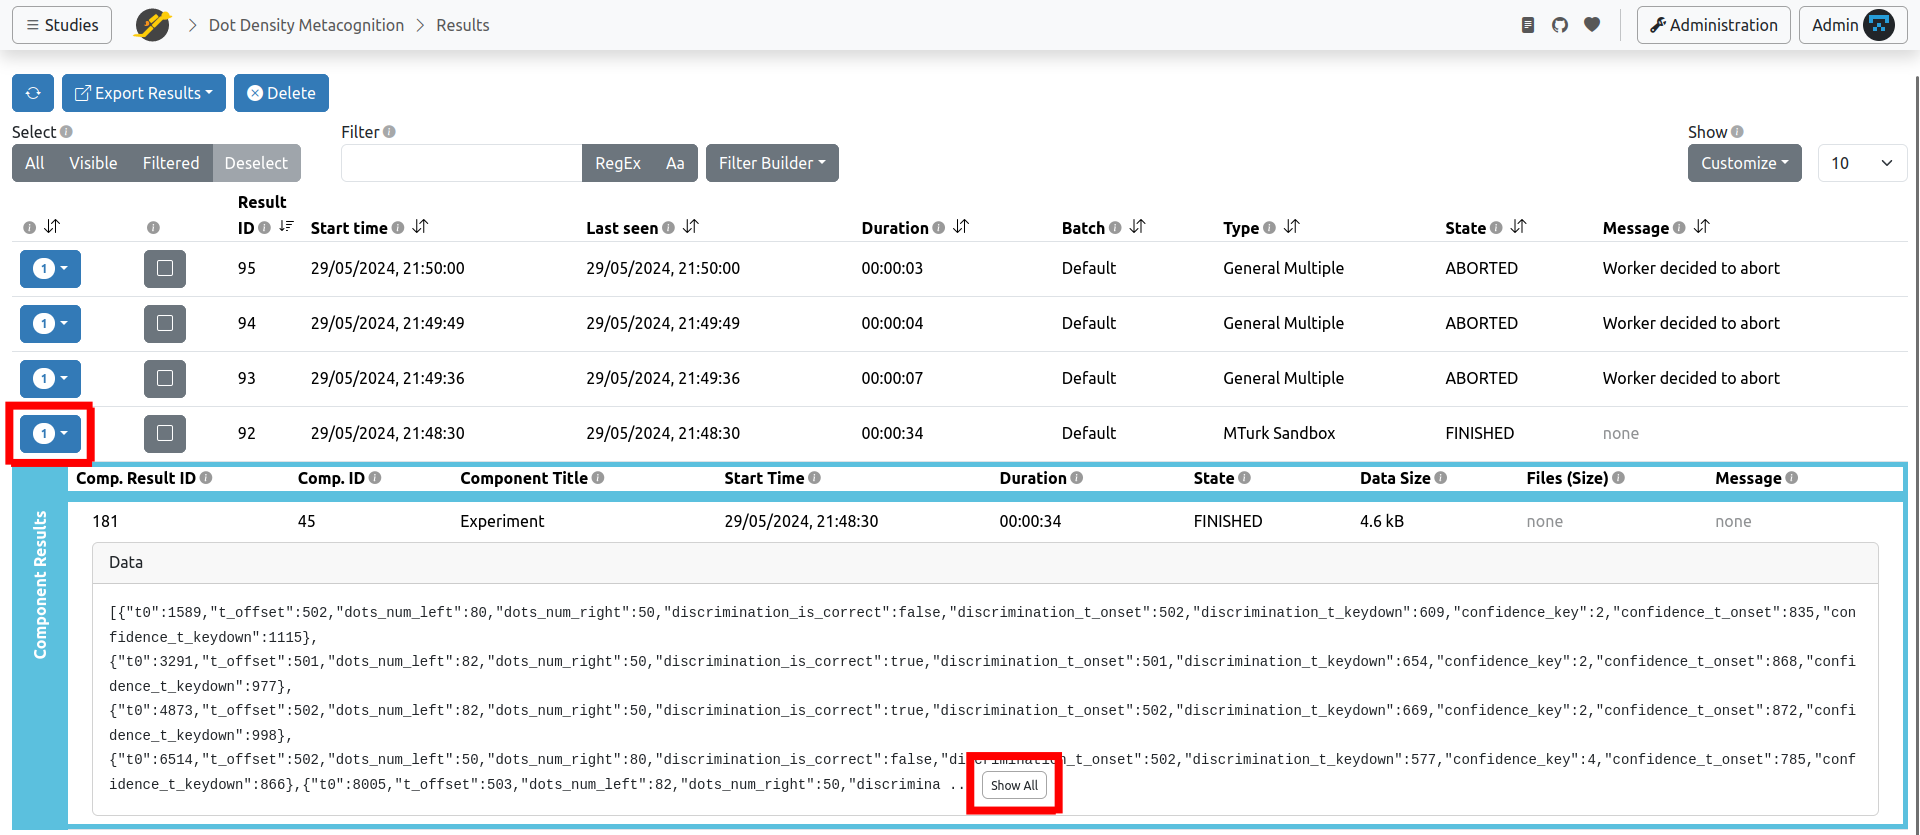
Each study result has an arrow icon (▼) on its left. Clicking this arrow displays the result data for that specific study run directly underneath the row. Since a study can have multiple components, and each component produces its own result data, there might be several result data entries, each in its own row (as shown in the screenshot below). If the entire data doesn't fit in the displayed box, you can click show all to view it completely.
Selecting Results
A checkbox on the left side of each row allows you to select or deselect a specific result. You can also use the buttons in the bar above the table to select or deselect all results. Additionally, you have options to select only the filtered results or only the currently visible ones.

Filter Results & Filter Builder
The filter feature lets you search across all fields in the results table (the metadata).

For instance, if you type "Personal Single" into the Filter field, only results from studies run by a Personal Single worker will appear in the table. You can then click Filtered to select these results and export only the ones you're interested in.
For more advanced filtering, you can use Regular Expressions. Click RegEx to activate this mode.
By default, filtering is case-insensitive, but you can enable case-sensitive filtering by clicking Aa.
Sometimes, the simple filter isn't precise enough, or you might want to combine multiple filters. For these scenarios, the Filter Builder offers complex criteria with logical conjunctions ('and', 'or'). It also allows you to filter for specific dates.

Export Results

Once you've selected the results you want, click Export Results. You can choose what to export: everything in a JATOS Results Archive, only the result metadata, only the result data, or only the files. If you're unsure which to choose, opting for the JATOS Result Archive is best, as it contains everything.
Export a JATOS Results Archive

This is the standard export format. It aggregates result data, result files, and result metadata into a single ZIP archive file with a .zip file suffix (more information about the archive format).
Export Result Data

The result data are the genuine data submitted during study runs, without any metadata or associated files. You can choose between ZIP or Plain Text format. In the ZIP format, the result data is organized in a file system structure with folders for study results and component results, similar to the JATOS results archive format. The Plain Text format, familiar from previous JATOS versions, consolidates all result data into one text file, with one result per line.
Export Result Files

Result files are those uploaded during study runs. They are exported as a ZIP archive with a file system structure that mirrors the study results and their component results.
Export Result Metadata

The metadata primarily consists of the information displayed in the result table that doesn't belong to the actual result data or files (e.g., worker ID, start time). You can choose between JSON and CSV format.
Delete Results

You can click Delete to remove the selected results. This action includes deleting result data, result files, and metadata. Keep in mind there's no undo function for this.
Table Columns and Customization
You can show and hide the columns displayed in the table using the drop-down menu under the Customize button.

- Result ID - An identifier assigned by JATOS to each study result. A study result is actually a set of component results, each with its own (different) Component Result ID.
- UUID - A universally unique identifier. Similar to Result ID, but this ID is unique across different JATOS installations.
- Study code - The study code used to start this particular study run.
- Start time - The time at which the first component of the study began.
- End time - The time at which the last component of the study finished.
- Last seen - Each component running in a worker's browser regularly sends a "heartbeat" back to JATOS. Last Seen is the time of the last heartbeat received. The heartbeat stops either when the study is finished or when the browser tab is closed. The default heartbeat period is 2 minutes, but you can change it via a jatos.js function.
- Duration - Simply the time difference between the start and end time.
- Batch - The name of the batch the worker belongs to.
- Worker ID - Assigned by JATOS. Each worker has a unique Worker ID. The JATOS admin user will always have Worker ID 1. You can click on a Worker ID to view all results associated with that worker.
- Worker type - Displays the Worker type that ran the study.
- MTurk worker ID - Applies only to studies run by MTurk workers. This is an identifier provided by Amazon Mechanical Turk, not by JATOS.
- MTurk confirmation code - Applies only to studies run by MTurk workers. This Confirmation Code is generated by JATOS and given to the worker as proof of their work.
- Group ID - Available only for group studies; it identifies the specific group.
- Files - Indicates whether result files were uploaded.
- Data size - (Component Results only) - The size of the result data as stored in the database.
- Files (size) - (Component Results only) - A list of the uploaded result files with their sizes in brackets.
- State
- Possible states for study results are:
- PRE - Preview of study (exists only for PersonalSingleWorker and GeneralSingleWorker).
- STARTED - Study started.
- DATA_RETRIEVED - The very beginning of the study. This means the first component of the study was loaded in the worker's browser and began running (it literally means the browser requested the initialization data).
- FINISHED - Study finished. All result data and files sent by the study in the browser were safely stored in JATOS.
- ABORTED - Study aborted by worker, and all result data and files were deleted.
- FAIL - Something went wrong; the study stopped and cannot continue.
- Possible states for component results are:
- STARTED - Component started.
- DATA_RETRIEVED - The very beginning of the component. This means the component was loaded in the worker's browser and began running (it literally means the browser requested the initialization data).
- FINISHED - Component finished. All result data and files sent by the study in the browser were safely stored in JATOS.
- RELOADED - Component was reloaded (usually by clicking the browser's reload button).
- ABORTED - This component's study was aborted by the worker, and all result data and files were deleted.
- FAIL - Something went wrong; the study stopped and cannot continue.
- Possible states for study results are:
- Messages - A message that can be set in conjunction with
jatos.endStudyorjatos.abortStudy.