Write your own study - Basics and beyond
After you've added a new study, what comes next?
JATOS study development typically happens on your local JATOS installation. For a detailed workflow, see: Run an experiment with JATOS - Workflow.
Add a Component
If you have an empty study, your next step is to add a component. A component corresponds to a webpage defined by an HTML file. A study can have multiple components—this is a key strength of JATOS, allowing you to combine different experiments into one or easily add a survey to an existing experiment.
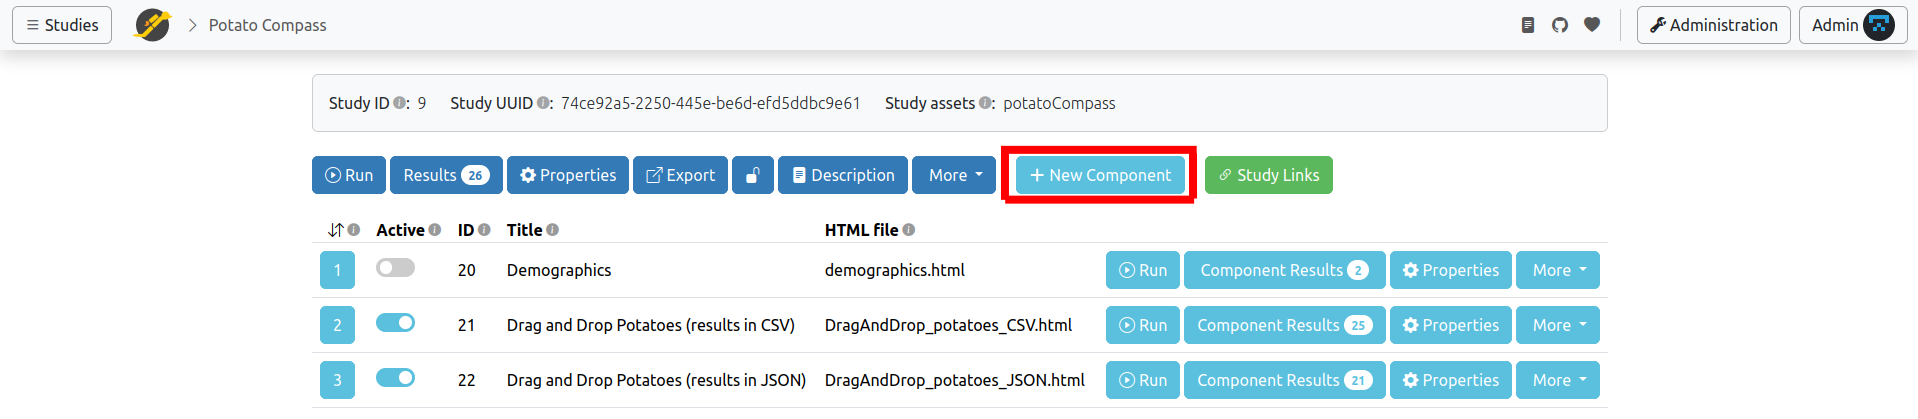
To add a component, go to your study page and click on New Component.
In the subsequent form, you will define the component's 'Title' and, most importantly, its 'HTML file path' (this is the path to the HTML file that initiates this component).
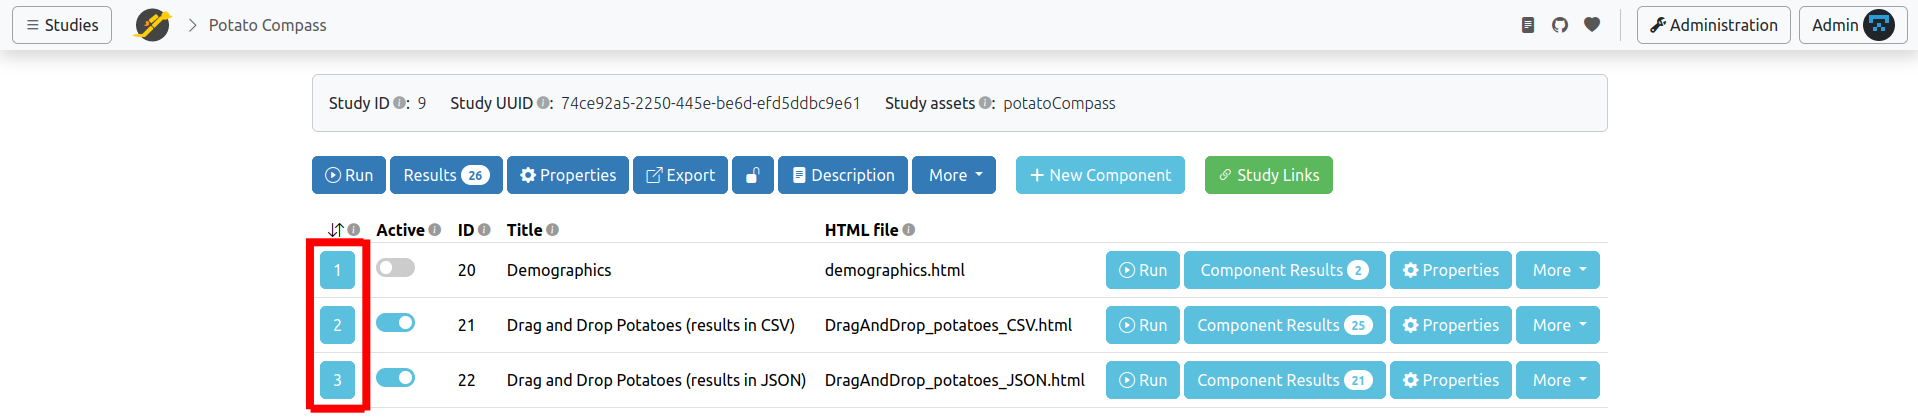
Click Add, and you're done. You can modify the component's properties by clicking 'Properties' in its row. If you add more than one component, you can change their execution order by using drag-and-drop on the position button.
Study Assets
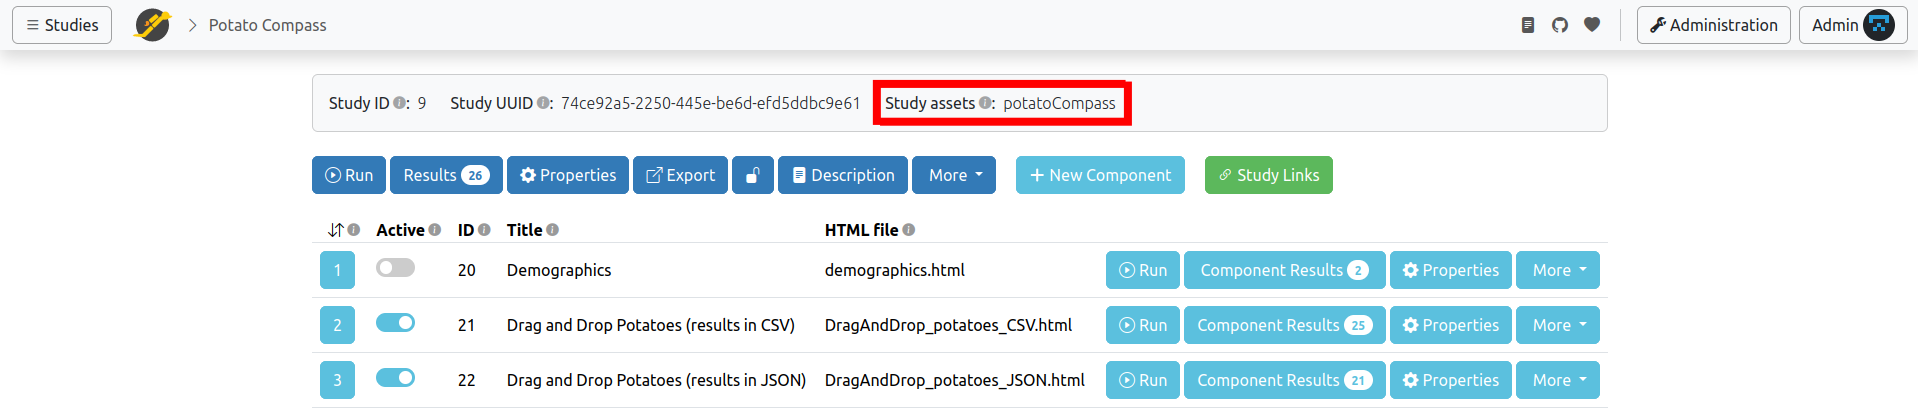
All your study files (e.g., HTML, CSS, JavaScript, and media files) are stored in your study assets directory. This includes all components' HTML files. You can find the study assets directory within a folder named study_assets_root in your JATOS installation directory. While you can change the study assets directory's name in the study properties, it's usually not necessary.
Mandatory Lines in Your Components' HTML
A study can have one or multiple components, and each component is associated with an HTML file defined in its properties.
Here is the absolute minimum an HTML file for any component must contain to run with JATOS:
A link to the jatos.js library in the
<head>section:<html>
<head>
<script src="jatos.js"></script>
</head>
</html>While not strictly mandatory, defining the
jatos.onLoadcallback function is essential to utilize most of jatos.js's features. Although you could start with any JavaScript immediately, if you intend to use jatos.js's variables and functions, you must wait for jatos.js to complete its initialization.<script>
jatos.onLoad(function() {
// Start here with your code that uses jatos.js' variables and functions
});
</script>
Save Your Result Data
You'll likely want to save the data collected during your experiments. Generally, there are two ways to do this: 1) result data or 2) result files. There's a dedicated documentation page about it.
jatos.js Reference
In your JavaScript, you'll use jatos.js to handle all JATOS-related functionalities. Every function and field is described in detail in its reference.
Study/Component/Batch Input
Your experiment is defined by its source code—its HTML, JavaScript, and CSS, where all texts and parameters are specified. However, sometimes you'll want to quickly change aspects of your experiment without modifying the source code itself.
For example, you might need to quickly adjust:
- An introductory text
- The number of trials
- A specific parameter needed in the experiment
You can achieve this using the "study input," "component input," or "batch input" fields (in older JATOS versions, these were called "Study JSON Input," "Component JSON Input," or "Batch JSON Input"). Both can be easily edited in the study/component/batch properties.
These input fields accept JSON. The data you enter there becomes available in your study's JavaScript via jatos.studyInput, jatos.componentInput, and jatos.batchInput (still supported are the deprecated jatos.studyJsonInput, jatos.componentJsonInput, and jatos.batchJsonInput).
The difference among study, component, and batch input lies in their availability within your study's code. Study input data is available everywhere in your study's code (all components, all batches). Component input is only available in the code of that specific component (but across all batches). Batch input is available in all study runs belonging to that particular batch (and across all components within that run). There's also a difference in what gets exported with the study: only the study and component input data are exported, not the batch input data.
| Study input | Component input | Batch input | |
|---|---|---|---|
| Availability | In the whole study (all components, all batches) | Only in the component where it was defined (but in all batches) | Only in the batch that belongs to the study run (but there in all components) |
| Exported with the study | Yes | Yes | No |
Example:
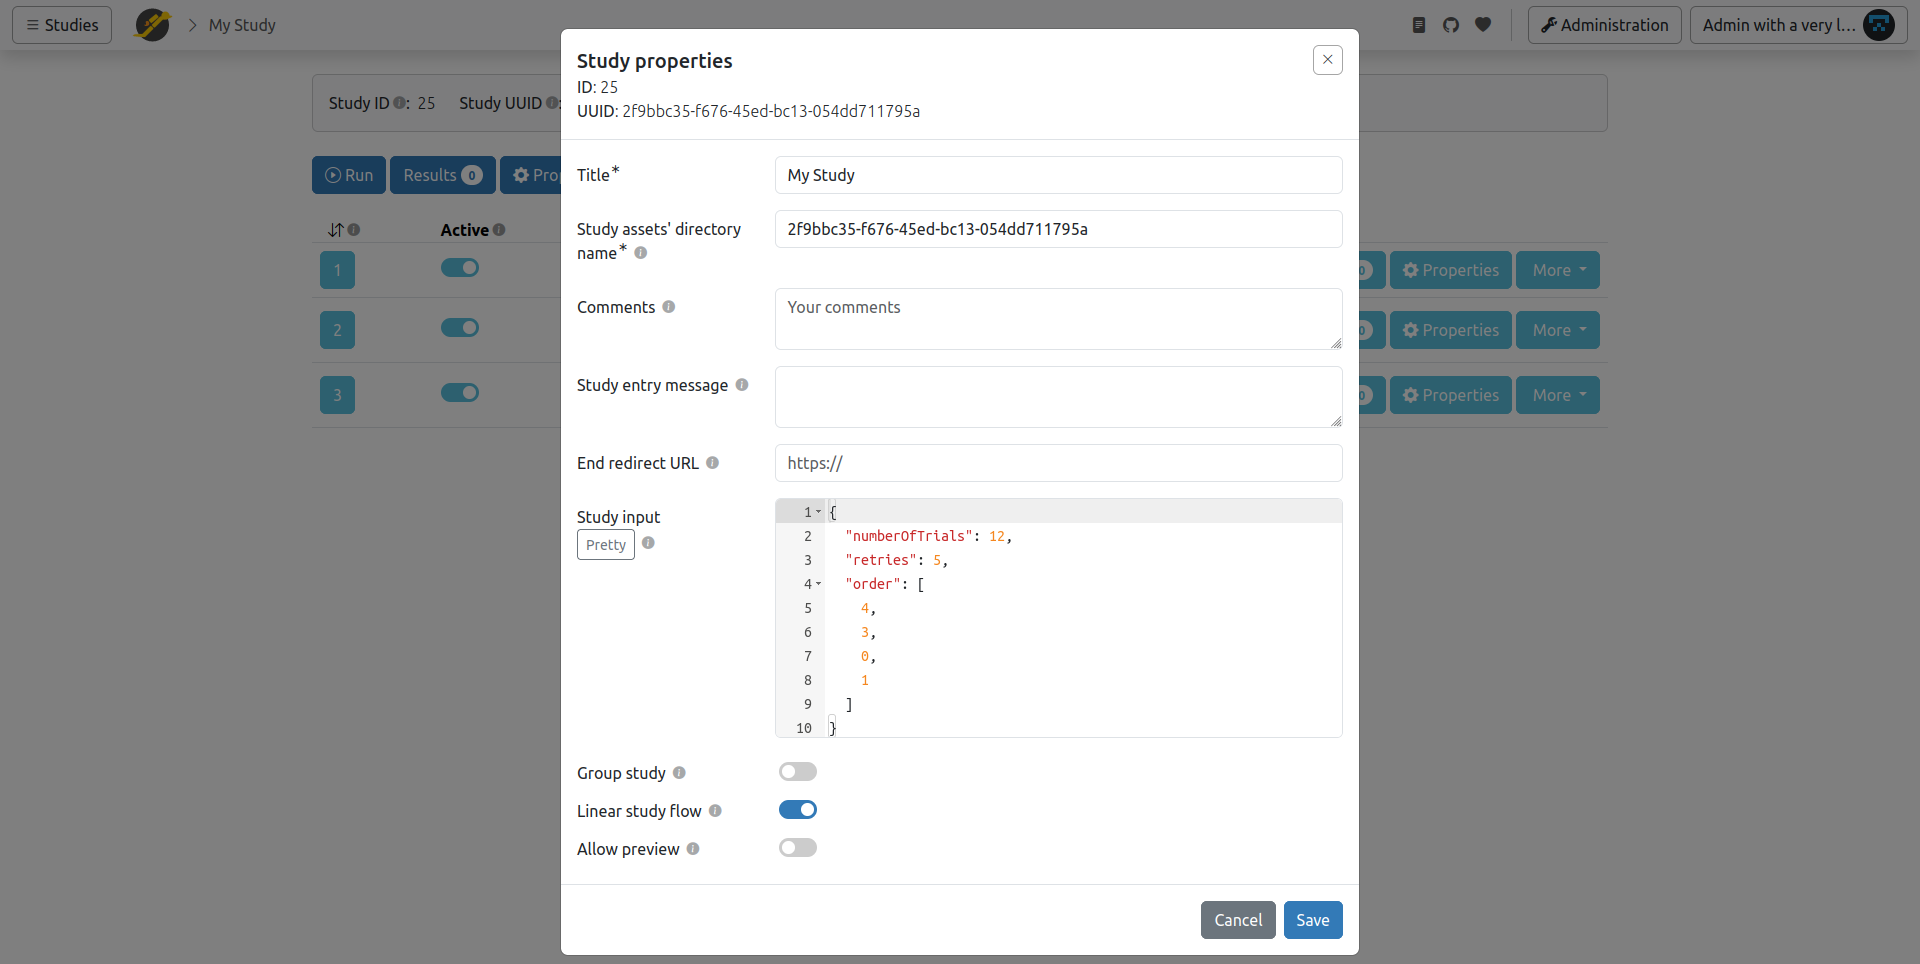
If you put the following JSON into the study input of your study properties:
{
  "numberOfTrials": 12,
  "retries": 5,
  "order": [
    4,
    3,
    0,
    1
  ]
}
You can access these fields in your JavaScript with jatos.studyInput.numberOfTrials, jatos.studyInput.retries, and jatos.studyInput.order.
Study / Batch / Group Session
Sessions are designed to help you exchange data within a study, batch, or group. The study session allows data to be passed within the same study run, from one component to the next. The batch session facilitates data transfer between study runs belonging to the same batch. A comprehensive page dedicated to these sessions can be found here: Session Data - Three Types.
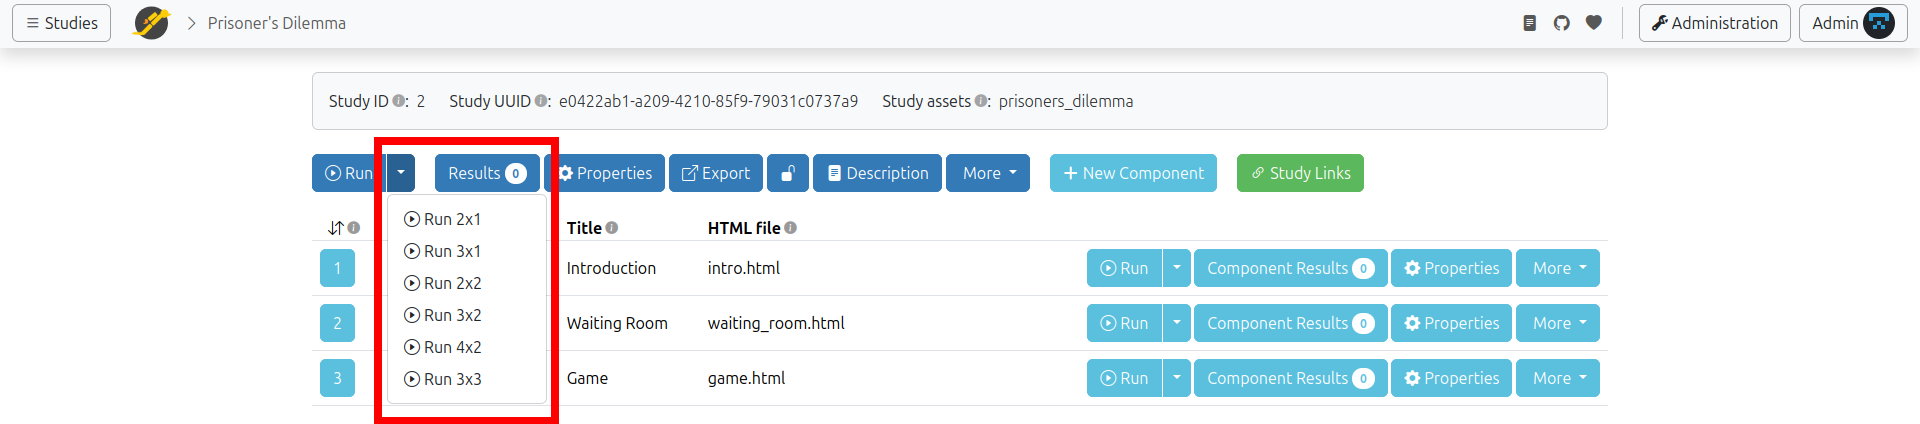
Run your study multiple times in parallel
For development and stress testing, you may need to observe how a study behaves when multiple instances run simultaneously.
Instead of clicking the Run button directly, click the dropdown arrow (▼) immediately to its right. This opens a layout selector where you can choose your grid dimensions:
- Layout Logic: The dimensions represent Columns x Rows.
- Example: Selecting 3x2 will launch 6 study runs in parallel arranged in a grid.
Group Studies
JATOS supports group studies, enabling multiple participants to work together on the same experiment and exchange data in real-time. It's best to start by exploring examples to get an idea of how they work. Then, you can proceed to learn how to write them: Write Group Studies I - Setup and Write Group Studies II - JavaScript and Messaging.